Hard water is one of the most common water complaints I hear about because it shows up everywhere: spots on glasses, crust around faucets, dry-feeling soap lather, scale in kettles, and white film on shower doors. Learning how to test for hard water at home helps you decide whether you are dealing with minerals, detergent issues, or something else.
The good news is that hard water testing can be simple. You can start with clues around the house, use inexpensive test strips, check a water report, or send a sample to a lab if you need a more reliable number.
What hard water means
Hard water contains dissolved minerals, mainly calcium and magnesium. These minerals are naturally picked up as water moves through soil and rock. Hard water is not automatically unsafe, but it can be inconvenient and expensive over time because scale can affect fixtures, appliances, and cleaning performance.
Hardness is often reported as grains per gallon or milligrams per liter as calcium carbonate. You do not need to memorize the chemistry to take action, but you do need a rough measurement if you are sizing a softener or comparing treatment options.
Signs you may have hard water
Common signs include white crust on faucets, spots on dishes, cloudy glassware, soap that does not lather well, stiff laundry, scale inside kettles, and mineral buildup on showerheads.
These signs are useful, but they are not proof. Detergent residue, dishwasher settings, and cleaning habits can mimic hard water problems. Testing helps separate clues from conclusions.
The soap bottle test
A simple home check uses a clear bottle, tap water, and a few drops of plain liquid soap. Fill the bottle about one-third full with water, add soap, and shake. If the water makes lots of suds and stays relatively clear, hardness may be low. If it produces few suds and turns cloudy, hardness may be higher.
This is not a precise test. Soap formulas vary, and the result is only a rough clue. I use it as a quick demonstration, not as the basis for buying equipment.
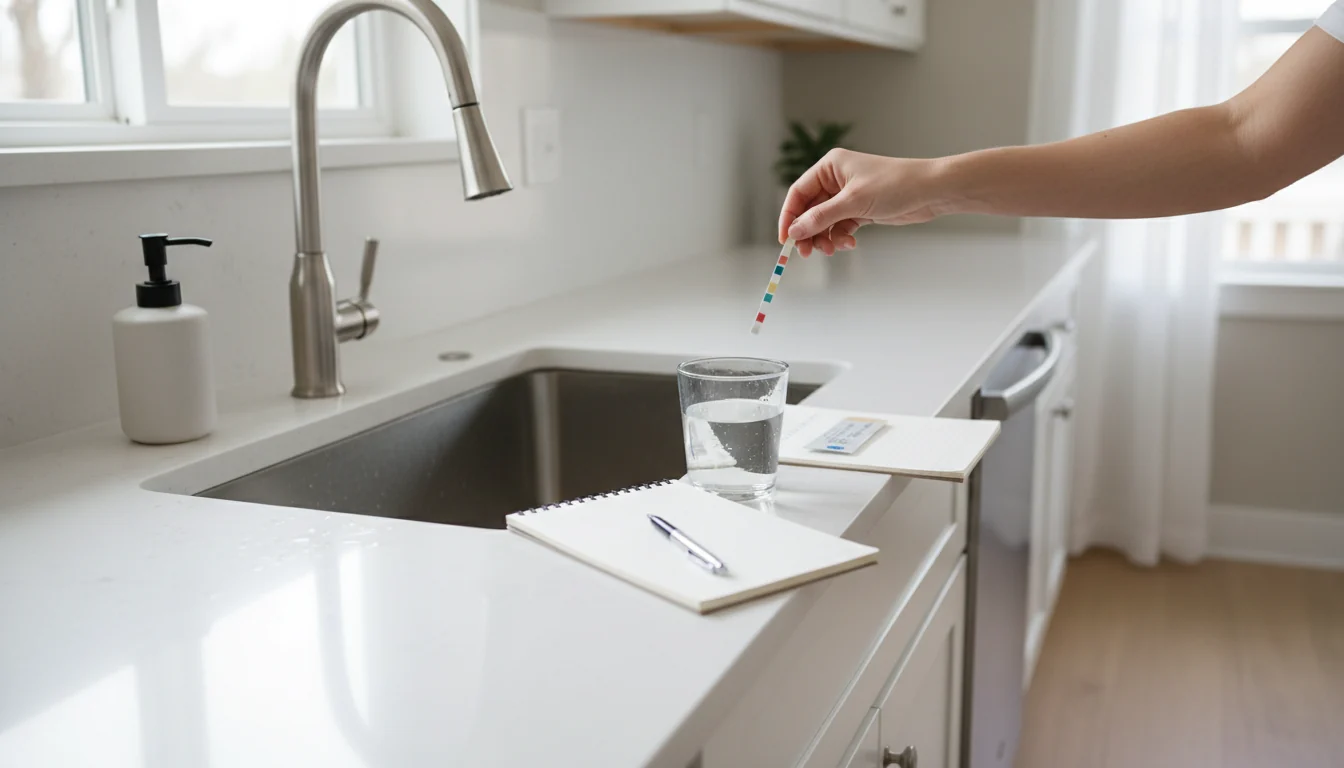
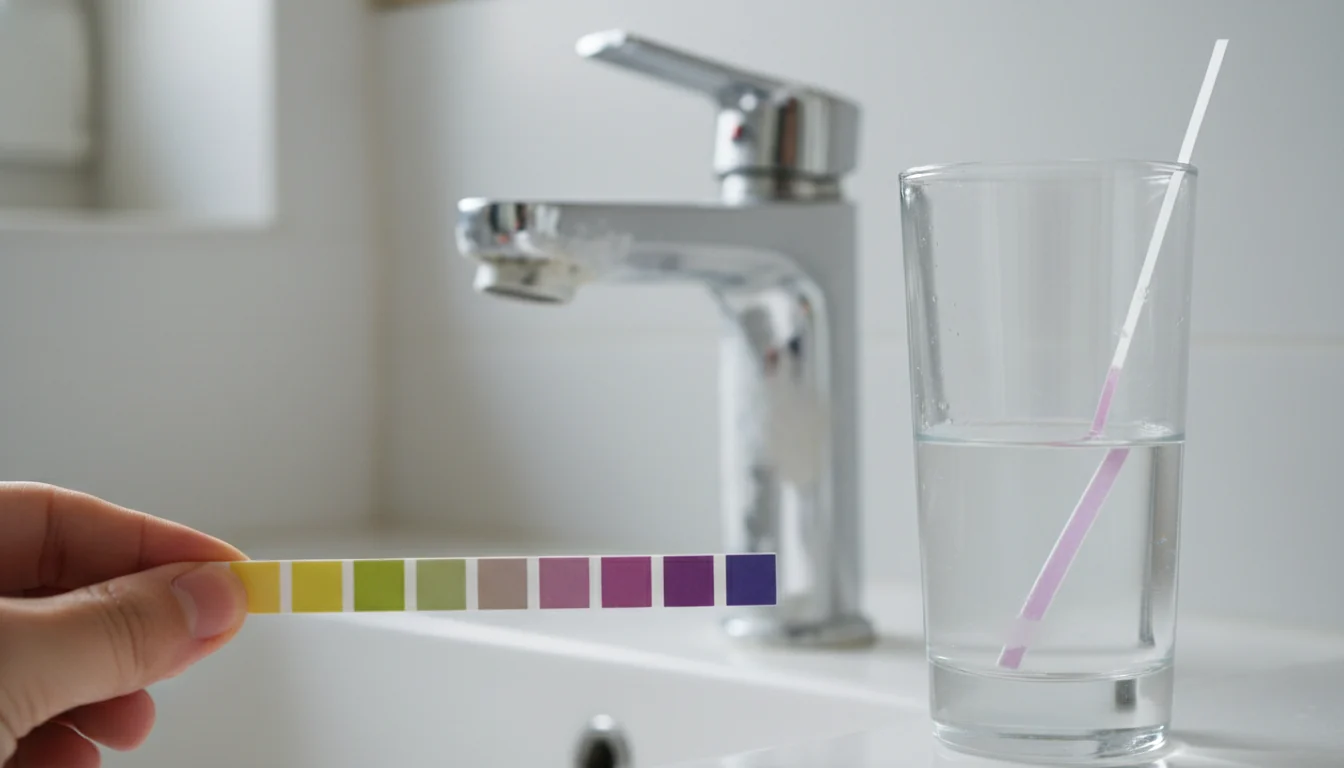
Hard water test strips
Test strips are the easiest practical option. You dip a strip in water, wait the specified time, and compare the color to a chart. They are inexpensive and good enough for a general hardness range.
Follow the instructions closely. Use cold water unless the test says otherwise. Do not touch the test pad. Read the strip at the correct time because colors can change if you wait too long. If the first result surprises you, test again.
Check your water quality report
If you are on a public water system, your utility may publish hardness information in its annual report or on its website. If you cannot find it, call and ask. Utility hardness can vary by source, but the report is a useful starting point.
Remember that your home’s plumbing can add other issues, but hardness usually comes from the water source rather than the last few feet of pipe.
Lab testing
A certified lab is the better choice if you need a precise result, have a private well, are sizing treatment equipment, or have multiple concerns beyond hardness. Lab testing can also check iron, manganese, pH, total dissolved solids, and other factors that influence treatment choices.
For private wells, I prefer a broader water test rather than a hardness-only strip. Well water is the homeowner’s responsibility, and treatment should be based on actual results.
Testing hot versus cold water
Test cold water first. Hot water has passed through the water heater and may show effects from the heater tank. If hot water has more sediment, odor, or discoloration, that may point to the heater rather than source hardness alone.
If you already have a softener, test both before and after the softener if you can. That shows whether the unit is working.
What to do with the results
If hardness is low, your dish spots may be caused by detergent, rinse aid, or dishwasher settings. If hardness is moderate, small adjustments may help. If hardness is high and you see scale throughout the house, a water softener may be worth considering.
Drinking water filters do not all soften water. Many carbon filters improve taste but do little for hardness. Reverse osmosis can reduce dissolved minerals at one tap, but it is not a whole-house softener. Match the tool to the problem.
Avoid overbuying treatment
Hard water can be annoying, but do not let a sales pitch turn one test strip into a major purchase. Confirm results, think about where the problem shows up, and consider total cost, salt use, maintenance, and installation.
Renters may not be able to install a softener. In that case, descaling fixtures, using rinse aid, choosing appropriate detergents, and using point-of-use filters for taste may be more realistic.
FAQ
What is the easiest way to test for hard water at home?
Hard water test strips are the easiest practical method. They give a rough range and are more useful than guessing from spots alone.
Are hard water test strips accurate?
They are generally useful for screening, but they are not as precise as lab testing. Follow timing and color chart instructions carefully.
Does hard water mean my water is unsafe?
Not necessarily. Hardness is mainly a mineral and scale issue. Safety depends on the full water quality picture, especially for private wells.
Will a pitcher filter remove hard water minerals?
Most standard pitcher filters are not designed to soften water significantly. Check the product claims, and do not assume taste filters remove hardness.
Final thoughts
Start with the visible clues, then use a test strip or water report to confirm. If the result will guide a major purchase, get better testing. Hard water is easier to manage when you know whether it is mild, moderate, or severe instead of relying on cloudy glasses and guesswork.