I’ve always cared deeply about living a healthy and sustainable life. The water I drink is very important to me. Growing up, I saw how bad water can hurt my family’s health. So, I wanted to find a way to get clean, fresh water for my home.
I’m thrilled to share how I made a DIY water purification system at home. In this guide, I’ll show you how to make your own water filter. This will help you control your water quality and keep your family safe and healthy.
Key Takeaways:
- Discover the importance of clean water for your household and the common contaminants in tap water
- Learn about the health risks of untreated water and the benefits of home water purification
- Explore the essential materials and tools needed for your DIY water filtration system
- Understand the step-by-step instructions for setting up your homemade water filter
- Gain insights into various filtration methods, including activated carbon, sand and gravel, UV light, and reverse osmosis
Understanding the Importance of Clean Water for Your Household
As a homeowner, making sure you have safe, clean water is key. Tap water might seem safe, but it can have pollutants that harm your health. Knowing about water contaminants, their effects, and the benefits of a home water filter helps protect your family.
Common Contaminants in Tap Water
Tap water can have many pollutants like heavy metals, pesticides, and bacteria. Common water contaminants include lead, arsenic, nitrates, fluoride, and bacteria. These can change your water’s taste and smell and cause waterborne diseases.
Health Risks of Untreated Water
Drinking untreated water can harm your family’s health. Contaminants like lead and arsenic can affect children’s development. Waterborne diseases can cause serious illnesses and even be deadly. This makes a good water filter very important.
Benefits of Home Water Purification
Getting a home water purification system has many benefits. It removes harmful stuff, making your water safe to drink. This keeps your family healthy and saves money on bottled water. It’s also better for the environment.
| Contaminant | Health Concern | Purification Method |
|---|---|---|
| Lead | Developmental issues, neurological problems | Reverse osmosis, activated carbon filtration |
| Arsenic | Cancer, cardiovascular disease | Reverse osmosis, anion exchange |
| Coliform Bacteria | Gastrointestinal illnesses | UV light disinfection, chlorination |
“Ensuring access to clean, safe water is not only a basic human right but also a fundamental responsibility for every household.”
Essential Materials and Tools You’ll Need for Your DIY System
Starting a DIY water purification project? You’ll need the right materials and tools for success. Let’s explore the key components for your home water filtration system:
- Filter Media: The heart of your system, including activated carbon, sand, and gravel. They remove contaminants from the water.
- Containers and Housings: You’ll need durable, food-grade containers or housings. They hold the filter media and guide the water flow.
- Tubing and Fittings: High-quality tubing and fittings are key. They connect the system components for efficient water flow.
- Tools: Depending on your setup, tools like saws, drills, wrenches, and clamps may be needed. They help assemble and install the system.
- UV Light (Optional): Adding a UV light disinfection unit can further purify the water by eliminating microorganisms.
- Reverse Osmosis Membrane (Optional): For advanced purification, a reverse osmosis membrane can remove dissolved contaminants, producing the purest water.
With these water filtration supplies, DIY filter materials, and home purification equipment, you’re ready to build a reliable DIY water purification system for your home.
| Essential Components | Purpose |
|---|---|
| Filter Media (Activated Carbon, Sand, Gravel) | Removes contaminants and purifies the water |
| Containers and Housings | Holds the filter media and facilitates water flow |
| Tubing and Fittings | Connects the system components for efficient water flow |
| Tools (Saws, Drills, Wrenches, Clamps) | Aids in the assembly and installation of the system |
| UV Light (Optional) | Provides additional disinfection to eliminate microorganisms |
| Reverse Osmosis Membrane (Optional) | Removes dissolved contaminants for the purest water |
By choosing and sourcing these essential materials and tools, you’re on your way to creating a strong and reliable DIY water purification system for your home.
How Can I Make a Water Purification System at Home?
Making your own water purification system at home is rewarding and saves money. It ensures your family drinks clean, safe water. It might seem hard, but with the right steps and safety, you can make a working system. Let’s explore the main steps for this DIY project.
Basic Setup Instructions
You’ll need some basic materials and tools to start. This includes a strong container, filtration media like activated carbon, and plumbing parts. Start by layering the media in the container and adding the hardware.
Safety Precautions
When making your water filter, safety comes first. Wear gloves and goggles and handle materials carefully. Clean and disinfect all parts before putting them together to avoid contamination.
Time and Cost Considerations
The time and cost to make a DIY water filter vary. It can take a few hours to a day, costing $50 to $200 or more. But, it saves money on bottled water and professional services in the long run.
By following these steps and safety tips, you can make a reliable water filter. Remember to keep it clean and replace the media to keep it working well.
Activated Carbon Filtration Method
Activated charcoal or carbon filtration is a top choice for purifying water. It uses activated carbon’s adsorptive properties to remove chlorine, heavy metals, organic compounds, and certain bacteria and viruses from your water.
The charcoal filter works by passing water through porous carbon granules or blocks. This traps contaminants, leaving your water clean and fresh.
| Contaminant Removal Efficiency | Activated Carbon Filtration |
|---|---|
| Chlorine | Up to 99% |
| Heavy Metals (lead, mercury, etc.) | Up to 95% |
| Organic Compounds | Up to 90% |
| Bacteria and Viruses | Up to 99.9% |
To add this carbon filtration to your DIY system, choose a high-quality activated charcoal filter. Make sure to install and maintain it properly. This will greatly enhance your water’s quality and safety.
“Activated carbon is one of the most versatile and effective materials for water filtration, capable of removing a wide range of contaminants.”
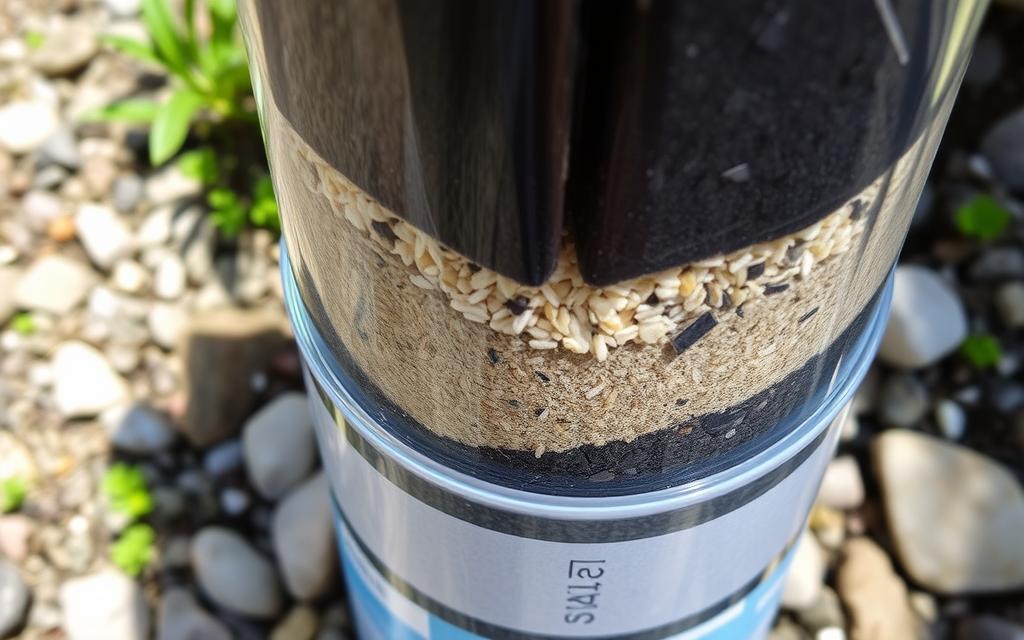
Sand and Gravel Filtration Layer Setup
Creating a DIY water purification system at home is easier with a sand and gravel layer. It’s great for removing sediment and improving your drinking water quality. This method is simple yet effective.
Choosing the Right Sand Grade
Choosing the right sand is key for a good sand filtration system. Look for coarse sand with a size between 0.5 to 1.0 millimeters. This size ensures effective sand filter, gravel filtration, and sediment removal.
Layer Arrangement Tips
- Start with a 2-inch layer of coarse gravel at the bottom for a solid base.
- Then, add a 6-inch layer of your chosen sand grade for even filtration.
- Finish with a 2-inch layer of fine gravel or pebbles to keep the sand in place.
Maintenance Requirements
To keep your system running well, backwashing is necessary. This clears out sediment by reversing water flow. Also, replace the sand and gravel layers now and then to keep water quality high.
“Proper setup and maintenance of the sand and gravel filtration layer is key for a long-lasting DIY water purification system.”
UV Light Purification Components
Ultraviolet (UV) light is a powerful tool for water purification. It’s often overlooked but can be very effective and energy-saving for your home. UV sterilization kills bacteria, viruses, and protozoa without using harmful chemicals.
The UV water purification system has two main parts: the UV lamp and the reaction chamber. The UV lamp sends out UV-C light that damages the DNA and RNA of microorganisms. This makes them unable to multiply and kills them. The reaction chamber is where the water meets the UV-C light, ensuring it’s fully disinfected before use.
- Ultraviolet water treatment is highly effective against a broad spectrum of microorganisms, including Escherichia coli, Giardia, and Cryptosporidium.
- UV sterilization is a chemical-free process, making it a safe and environmentally friendly option for water purification.
- The germicidal irradiation provided by UV light can inactivate up to 99.99% of pathogens, providing a high level of water disinfection without the need for additional filtration or chemicals.
When adding UV light to your DIY water filtration system, make sure the water flow rate and UV lamp intensity match. This ensures the water is properly disinfected. Combining UV light with other methods like activated carbon or reverse osmosis makes a complete and effective water treatment system for your home.
“UV light purification is a powerful and efficient way to eliminate harmful microorganisms from your water, without the use of chemicals or complicated maintenance.”
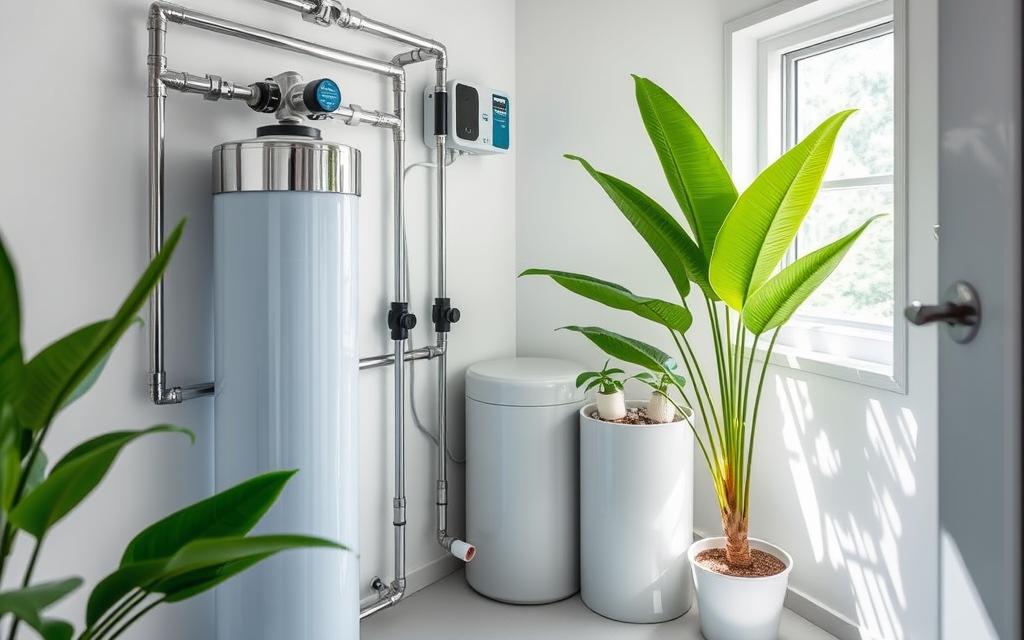
Reverse Osmosis System Integration
Reverse osmosis (RO) is a powerful way to purify water. It removes many contaminants from your tap water. By adding an RO system to your home, you get clean water for your family.
Membrane Selection Guide
The heart of an RO system is the semi-permeable membrane. When picking an RO membrane, think about these important factors:
- Pore size: Choose a membrane with a pore size of 0.0001 microns or smaller. This filters out even the smallest contaminants, like dissolved salts, heavy metals, and bacteria.
- Rejection rate: Go for a membrane with a high rejection rate, usually 95% or more. This ensures most impurities are removed.
- Water flow rate: Pick a membrane that fits your household’s water needs. It should not slow down the purification process.
Installation Steps
Adding an RO system to your DIY setup has a few main steps:
- Find a good spot for the RO unit. It should be near your water supply and a drain for waste.
- Connect the RO unit to your water line using the right fittings and tubing.
- Put the RO membrane in its housing, following the manufacturer’s instructions.
- Connect the waste water line to a drain, like a sink or floor drain.
- Do a full system check to make sure everything is tight and there are no leaks.
Troubleshooting Common Issues
RO systems are usually reliable, but you might run into some common problems. Watch out for:
- Low water flow: This could be because of a clogged membrane, a broken pump, or low water pressure. Check the manufacturer’s guide for how to fix it.
- Leaks: Look for any leaks in the tubing and fittings. Tighten or replace them as needed.
- Taste or odor issues: If the water tastes or smells bad, the membrane might need replacing or more filters.
Knowing how to integrate an RO system helps your DIY setup give your home clean, safe, and tasty water.
Natural Filtration Methods Using Bio-Materials
We can make eco-friendly water purification systems at home. The bio-sand filter uses sand, gravel, and bacteria to clean water. It’s a natural way to remove contaminants.
Plant-based purification is another green option. It uses plants to filter water. This method not only cleans water but also helps the planet.
Let’s explore how bio-materials can purify our water at home. It’s a fascinating journey into natural filtration.
Harnessing the Power of Bio-Sand Filters
Bio-sand filters are simple yet effective. They use natural materials to purify water. Water passes through sand and gravel, where bacteria trap contaminants.
- The sand layer removes big particles and pathogens.
- Gravel supports the system and spreads water evenly.
- The biological layer, or “schmutzdecke,” breaks down organic matter and kills bacteria.
Exploring Plant-Based Purification
Many plants can purify water naturally. By using these plants in our systems, we make them sustainable and eco-friendly.
- Water hyacinths and duckweed remove heavy metals and excess nutrients.
- Vetiver grass and bamboo filter out pollutants with their roots.
- Moringa oleifera is known for its strong water purification abilities.
Using bio-materials, we can make sustainable water purification systems. They clean water and help the environment.
| Filtration Method | Key Benefits | Maintenance Requirements |
|---|---|---|
| Bio-Sand Filter | Effective removal of contaminants, low-cost, and energy-efficient | Periodic cleaning of the top sand layer, occasional replacement of the sand and gravel |
| Plant-Based Purification | Utilizes natural filtering abilities of plants, low maintenance, and promotes biodiversity | Regular pruning and harvesting of the plants, occasional replacement of the growth media |
“Nature is the ultimate teacher, and by emulating its principles, we can create water purification systems that are not only effective but also sustainable and environmentally conscious.”
Building Your Water Storage System
Having a reliable water supply is key for your home. Choosing the right containers and safety steps is vital. This helps prevent contamination and keeps your water quality high.
Container Selection
Look for water storage tanks made for that purpose. Don’t use containers that held chemicals. Choose food-grade plastic, stainless steel, or FDA-approved materials for safe water.
Think about your household size and water needs when picking a tank size. This ensures you have enough water for daily use and emergencies.
Safety Measures
- Cover your tanks to keep out dust, debris, and sunlight. This stops algae and contaminants.
- Check your tanks for damage like cracks or leaks. Fix any problems quickly to keep your water safe.
- Use a mild bleach solution to clean your tanks regularly. This keeps harmful microorganisms away.
- Think about adding a water level indicator or alarm. It helps you know when you need to refill.
By choosing the right containers and following safety steps, you can have a reliable water storage system. This ensures you always have access to clean, safe water.
| Water Storage Tank Material | Key Considerations |
|---|---|
| Food-grade Plastic | Durable, lightweight, and cost-effective, but may be susceptible to UV light damage over time. |
| Stainless Steel | Highly durable, corrosion-resistant, and easy to clean, but can be more expensive than plastic. |
| FDA-approved Materials | Ensure the containers are designed for safe water storage and meet standards. |
“Proper water storage is essential for ensuring a reliable and safe water supply, even in emergencies or natural disasters.”
Testing Your Water Quality
It’s important to check your home’s water quality. This ensures a healthy and safe living space. Regular tests help find any contaminants or problems with your DIY water system.
Comprehensive Water Quality Test Kits
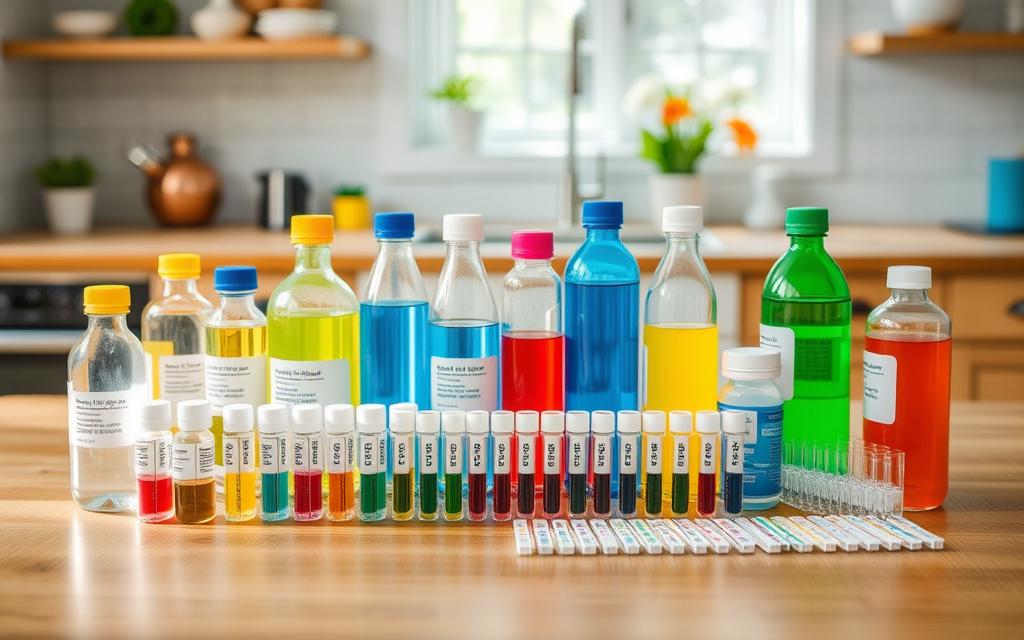
Get a top-notch water test kit. It should check pH levels, heavy metals, and microbiological contaminants. These kits give a full picture of your water’s state and show where you need to focus.
Interpreting Test Results
Look closely at the test results. Check the pH, total dissolved solids (TDS), and contaminants like lead, nitrates, and bacteria. Knowing the right ranges helps you see if you need to make your water better.
| Parameter | Acceptable Range | Implications |
|---|---|---|
| pH | 6.5 – 8.5 | pH levels outside this range can impact the taste, appearance, and corrosiveness of your water. |
| Total Dissolved Solids (TDS) | Up to 500 mg/L | Elevated TDS levels may indicate the presence of minerals, salts, or other dissolved substances. |
| Lead | 0 ppb | Any amount of lead is considered unsafe, as it can pose serious health risks, specially for children. |
Regular water tests and understanding the results are key. They make sure your DIY water system works well. This way, your home gets clean, safe water.

System Maintenance and Filter Replacement Guide
Keeping your DIY water purification system in good shape is key. Regular cleaning and replacing parts as needed will keep it working well. This way, you’ll have clean, filtered water for your home.
Cleaning Schedule
For your system to stay in top condition, follow a cleaning routine. Here’s a basic plan:
- Prefilters: Clean or replace every 6-12 months, depending on usage and water quality.
- Activated carbon filter: Replace every 12-18 months.
- Sand and gravel layers: Flush and clean every 6-12 months.
- UV light bulb: Replace annually to maintain proper disinfection.
- Reverse osmosis membrane: Clean or replace every 2-3 years.
Parts Replacement Timeline
Replacing key parts of your system regularly is also vital. This ensures filter maintenance, water system upkeep, and replacement schedule are followed. Here’s a replacement guide:
| Component | Replacement Interval |
|---|---|
| Prefilters | 6-12 months |
| Activated carbon filter | 12-18 months |
| UV light bulb | 12 months |
| Reverse osmosis membrane | 2-3 years |
By keeping up with maintenance and replacements, your system will perform at its best. Enjoy clean, purified water in your home.
Cost-Effective Upgrades for Better Filtration
As a water enthusiast, I’m always searching for ways to improve my DIY water purification system without spending a lot. Luckily, there are many affordable upgrades that can enhance water quality and filtration efficiency at home.
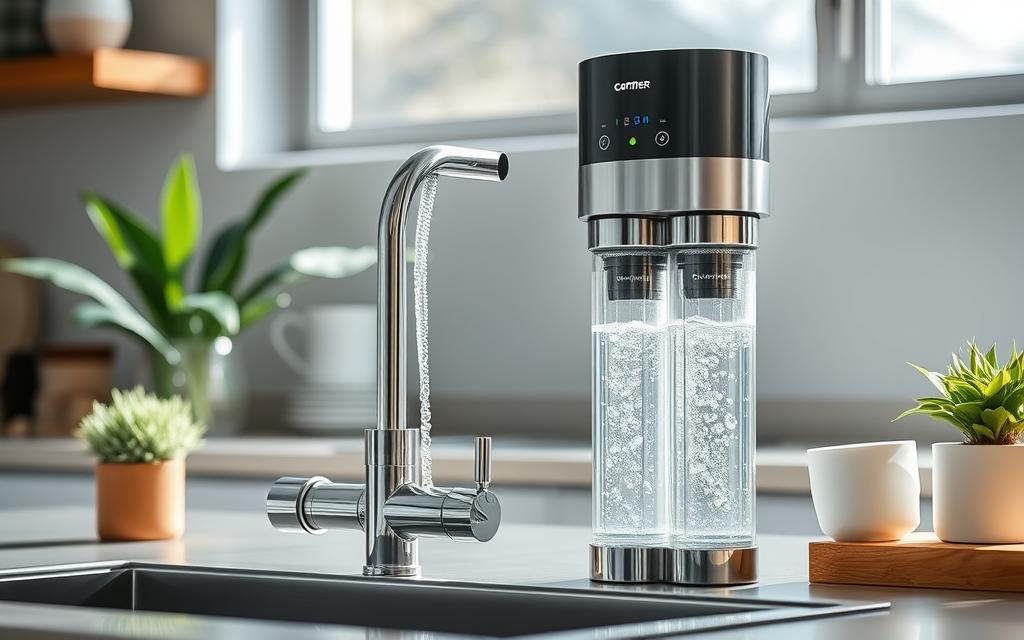
Enhance Filtration With Activated Carbon Blocks
Replacing your standard carbon filters with high-quality activated carbon blocks is a smart move. These blocks are great at removing contaminants like chlorine, bad tastes, and odors. Plus, they’re easy on your wallet.
Upgrade to Multi-Stage Filtration
Adding a multi-stage filtration system to your DIY setup is another wise choice. With extra filtration media like sediment filters, ion exchange resins, and UV light disinfection, you get improved purification. This means cleaner, safer water for your home.
| Filtration Stage | Contaminants Removed | Cost Estimate |
|---|---|---|
| Sediment Filter | Dirt, rust, sand, and other large particles | $10 – $30 |
| Activated Carbon | Chlorine, bad tastes, and odors | $20 – $50 |
| Ion Exchange Resin | Heavy metals, fluoride, and nitrates | $30 – $80 |
| UV Light Disinfection | Bacteria, viruses, and protozoa | $100 – $300 |
Choosing the right water filter upgrades for your needs can make a big difference. You can create a budget-friendly yet effective purification system. This will give you clean, safe drinking water for your family.
“Investing in a complete water filtration system is a smart choice for your family’s health. It’s a long-term investment that’s worth it.”
Troubleshooting Common Problems
Keeping your DIY water purification system in top shape is key. Even the best systems can run into issues now and then. Let’s look at some common problems and find ways to fix them, so your water stays clean and safe.
Pressure Issues
Low water pressure might mean there’s a blockage. Filters can get clogged with sediment and impurities over time. Here’s how to fix it:
- Check the pressure gauge (if your system has one) to identify the specific area with low pressure.
- Inspect the filters and replace any that appear heavily clogged or dirty.
- Ensure that the inlet and outlet valves are fully open and functioning correctly.
- Clean or replace the sediment pre-filter, as it’s often the first line of defense against clogging.
Filter Clogging Solutions
Clogged filters are a big problem. Here’s how to tackle it:
- Regularly clean or replace the filters as the maker suggests or based on how much you use them.
- Think about getting better filters that can handle more dirt and last longer.
- Use a pre-filtration stage, like a sediment filter, to make your main filters last longer.
- Adjust the water flow rate to keep the filters from getting too full.
By being proactive and fixing problems fast, you can keep your DIY water system working great. This way, you’ll always have clean, safe water for your home.
Environmental Impact and Sustainability
I’m excited to talk about the good things that come from making your own water purifier. It helps cut down on plastic waste and lowers your carbon footprint. Plus, you get clean water at home, which is super convenient.
One big plus of having a eco-friendly water treatment system at home is no more single-use plastic bottles. Bottled water production, transport, and disposal harm our planet a lot. With a sustainable filtration system, you avoid buying and throwing away plastic bottles. This helps reduce plastic waste and saves resources.
| Environmental Impact | Conventional Bottled Water | DIY Water Purification System |
|---|---|---|
| Plastic Waste | High | Low |
| Carbon Footprint | Significant | Minimal |
| Energy Consumption | High | Low |
Also, a DIY water purifier is energy-smart. It uses much less energy than making and moving bottled water. This means it has a smaller carbon footprint and is better for the planet.
“By creating your own water purification system, you’re not only securing a reliable source of clean water but also making a tangible difference in the fight against environmental degradation.”
In short, making your own water purifier is great for the environment. You help make the future greener and enjoy clean water easily at home.
Conclusion
Creating a DIY water purification system at home is a great way to keep your water safe and clean. It’s important to know why clean water matters and what can harm it. This lets us control our water quality and enjoy the benefits of a home filter.
Building your own system is rewarding and empowering. You can pick from materials like activated carbon, sand, gravel, or UV light. The goal is to have clean, safe water at home.
By doing this, you protect your family’s health and help the environment. You’ll save money by not buying bottled water. As you keep your system up to date, you’ll see the benefits last a long time. Enjoy the fresh taste of water you’ve purified yourself!


